
This week we'll be dealing with the herbal alchemy of transforming a liquid oil infusion into a solid salve. Be sure to check out last weeks blog about oil infusions if you haven't done so already. Every good salve must start with a good oil infusion.
The main thing to keep in mind when making a salve is preservation and cleanliness. When made and stored properly, salves have a shelf life of 2-3 years. The last thing you want is all those precious ingredients go to waste because of contamination from dirt, water or other kitchen hazards. The most common trouble maker is water, so be sure to thoroughly dry all containers before transferring your oil infusion into them.
What You'll Need:
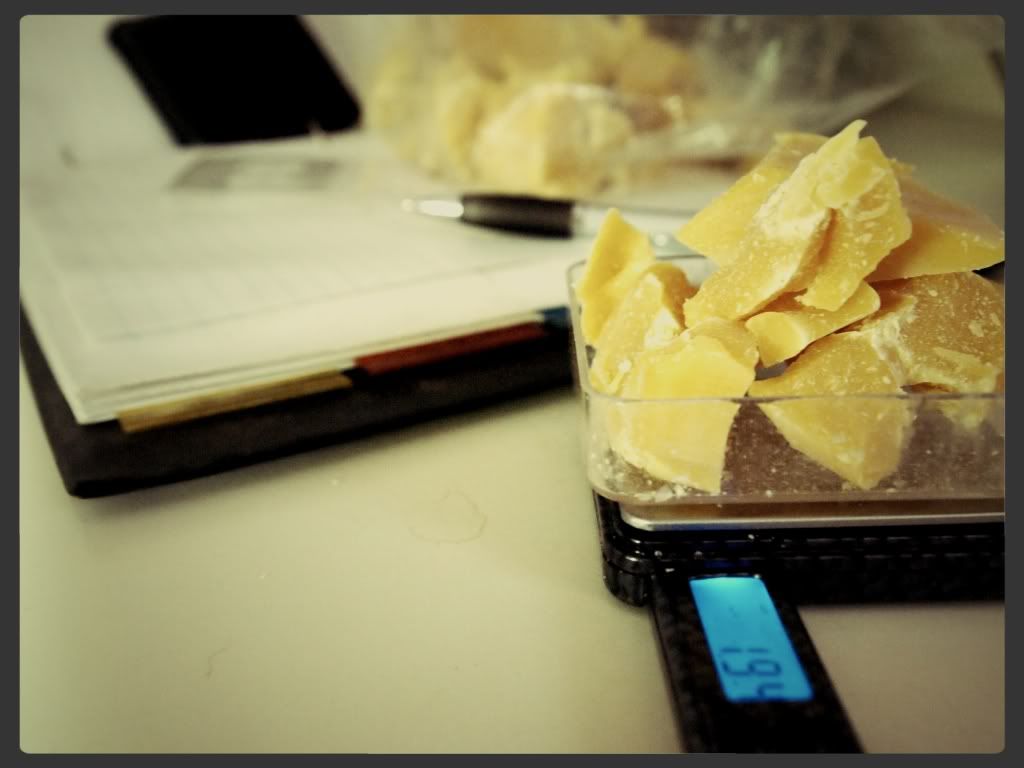
- Wax: Beeswax is my favorite, but you can use vegan alternatives like candelilla if you'd prefer. A general rule is for each cup of oil add 1oz (weighed) wax. I'd highly recommend getting a scale, or you can buy wax in 1oz chunks. You may want to adjust this depending on climate and personal preference. I typically use 1.1oz wax for each cup of oil. Wax can be found in bricks or pellets. Bricks can be broken apart with a (clean) flat-head screwdriver and a rubber mallet.
- Vitamin E: This will not only help extend the shelf life of your salve, but it's also wonderful for the skin. Try to find pure Vitamin E (read the label, as most are diluted in veggie oil for consumption). I use Jason's Vitamin E at 32,000 iu. Add just a few drops to your batch. If you can't find straight Vitamin E, try to get Vitamin E capsules. Pop a few open and squeeze the thick Vitamin E into your salve just before pouring into your jars.
- Precious Oils: Rose Hip Seed, Borage Seed, Evening Primrose, Meadowfoam and Hemp Seed oils are just a few of the many nutrient-rich oils you can use to boost your formula. I like to add these oils at the end of the salve making process, just before pouring into the jars. This lessens the nutrient loss due to heat exposure. I typically add 1-2 TBsp of precious oils to each cup of base oil.
- Essential Oils: The possibilities are endless here. Favorites include Lavender and Tea Tree for healing salves, or Peppermint and Ginger for a muscle rub. I add my essential oils to the empty jars my hot salve will be poured in. Heat vaporizes the essential oils and weakens the scent and healing properties. I use 20-30 drops of essential oils for each ounce of salve.

- Double Boiler: You will need a double boiler to make your salve. Don't ever put your oil or salve over direct heat. You can make a simple double boiler by finding two pans, one bigger and one smaller so that they can nest. Then, just throw a wide mouth canning jar ring into the bottom of the bigger pan, add a little bit of water and set your smaller pan right on top of the ring with the handle hanging off the side of the bigger pan (for stability). Voila! Instant double-boiler.
- Jars or Tins
- Chopsticks, Spoons
Making The Salve
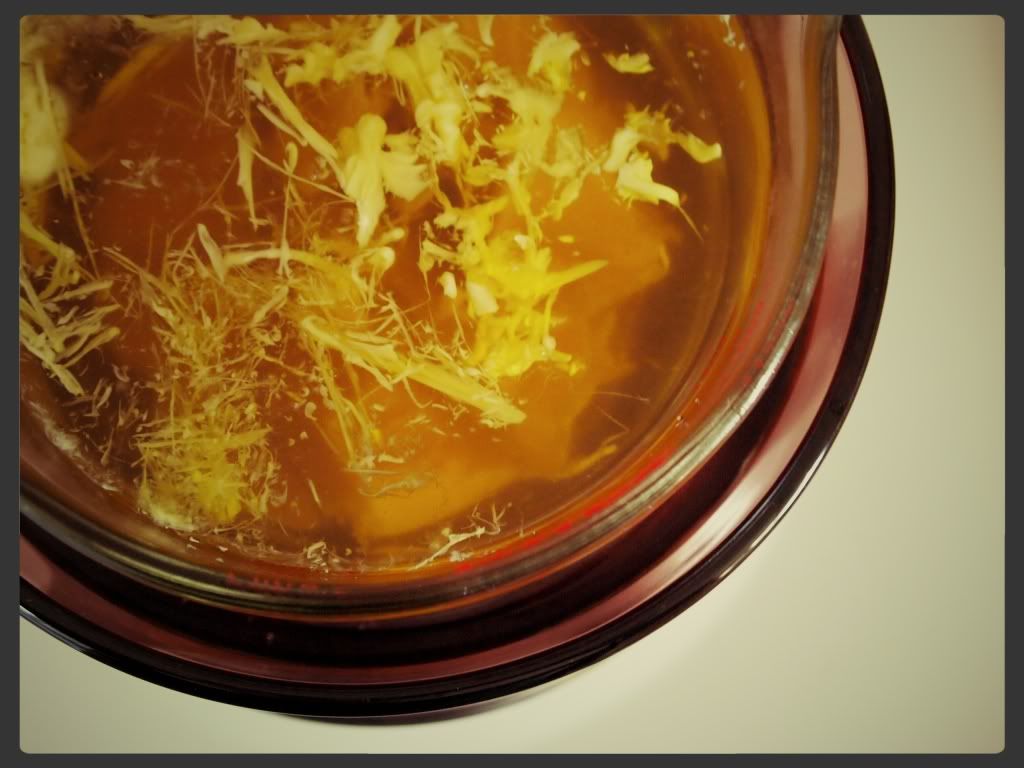
Step 1: Strain and Press
Strain your salve directly into your salve making vessel (the upper part of your double boiler). Strain the herbs out of your oil infusion using a muslin bag. Pour slowly and don't let any plant matter get past your fabric. It's normal for minute particles to accumulate at the bottom of your salve. Squeeze the leftover plant material as hard as you can to extract all of your herbs' properties.
Step 2: Heat and Melt
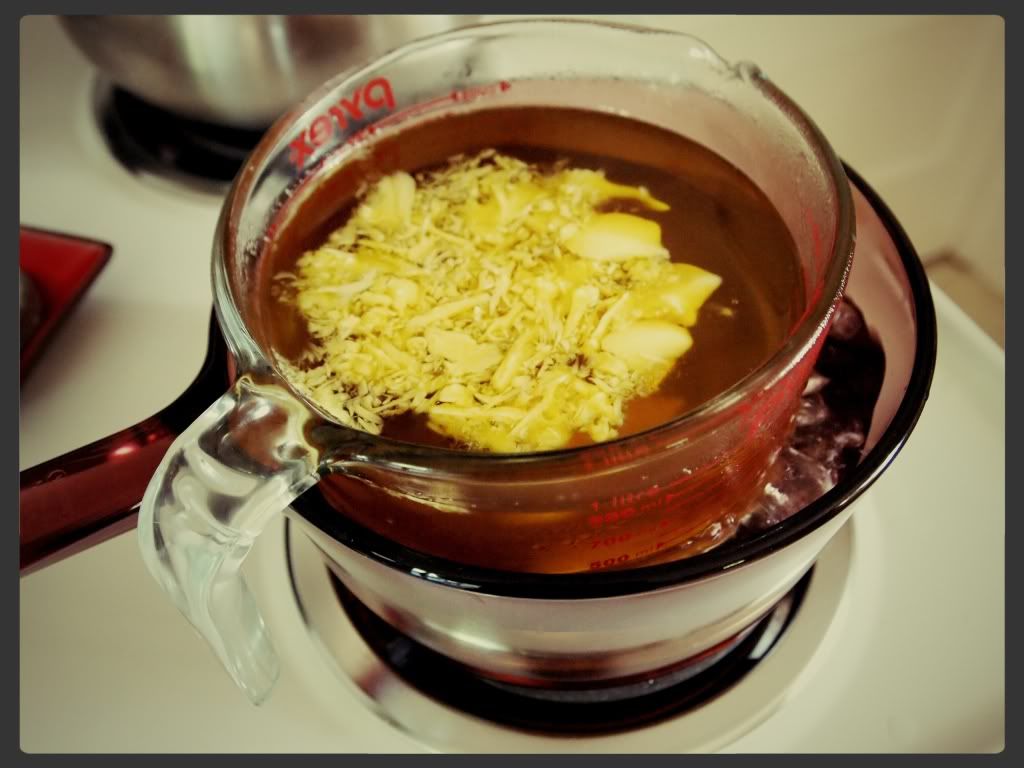
Add your preferred wax to your strained oil infusion and place in your double boiler. Start with 1oz wax for each cup of oil. If you're using glass, make sure it's heat resistant and always heat slowly. Your double boiler should be on medium-low heat. Watch it carefully so the water doesn't boil or splash into your salve. Stir your salve occasionally to help it melt.
While your salve is melting, prepare your empty jars or tins to pour your salve into. Add your essential oils to the bottom and keep a chopstick handy.

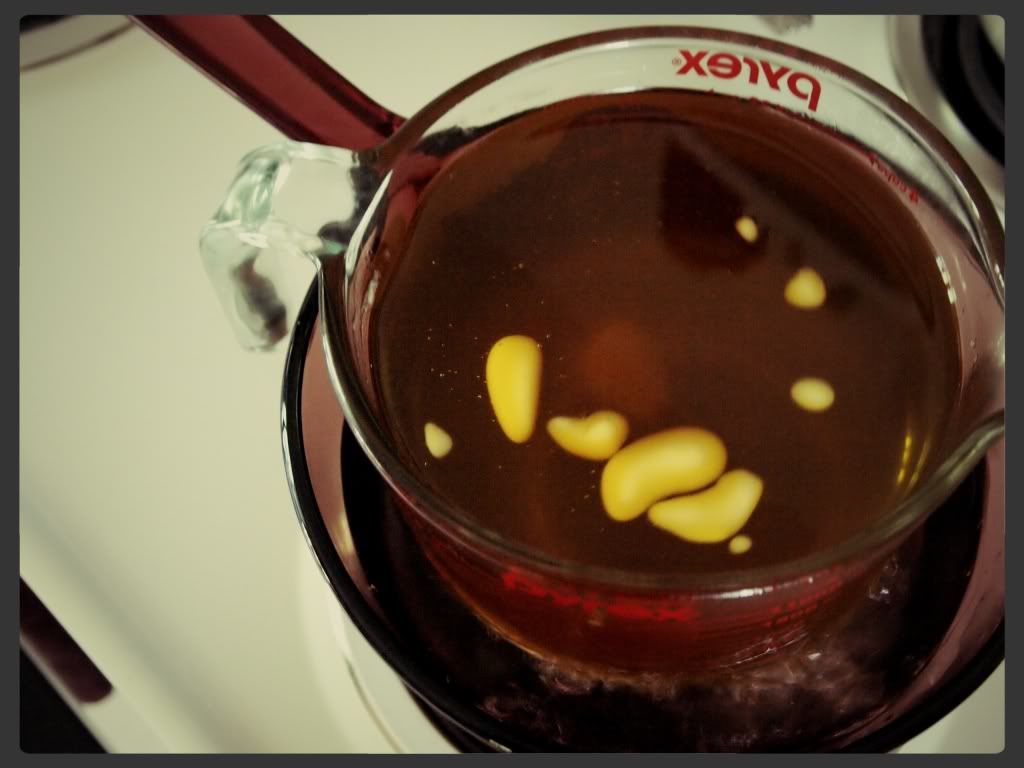
Once the wax is completely melted, spoon out a small amount and place it in the freezer to harden. Test your salve to make sure it's thick enough. If it's to hard, you can always add a little oil to your mix. IT'S VERY IMPORTANT TO TEST YOUR SALVE. There's nothing worse than having to melt down salve that's already been poured into jars.
Step 3: Make Pretty and Pour
If you're improving your salve with precious oils or Vitamin E, turn off your stove and add them now. Mix thoroughly. A few tablespoons of precious oils wont dramatically effect the consistency of your salve, but you can test it once more if you'd like. Carefully pour your salve into your prepared containers. Start with the bigger jars and end with the smaller ones. It's much easier to pour small amounts of salve when there is less of it to handle. If you added essential oils to your salve jars, use the chop stick to mix everything while the salve is still hot.
Step 4: Clean and Store
It's easiest to clean up salve while it's hot. Dump boiling water over everything that has salve on it. Then wash with very hot soapy water. When your salves are completely cool and hard, cap tightly and store in a cool, dark place.
*This information has not been evaluated by the FDA and does not replace the opinion of a doctor. This product is not intended to diagnose, treat, cure, or prevent any disease.


Leave a comment